Building a telescope pier
11/21/2021
My NEQ6 has a weight of 16.5kg. This does not sound like too much, but I needed to bring it into my backyard each night and back into the house the next morning. Then I always needed to do a good polar alignment. Without any software – just using the hand controller – this means to do a three star alignment followed by a polar alignment. This process needed to be repeated until I reached some point of accuracy which was good to go. Sometimes things can go wrong and for this reason sometimes it took up to two hours to get there, other nights it was done in less than 20 minutes. Today I’m using software for the polar alignment and my hand controller is not used anymore, but back in the last spring it was the way to go.
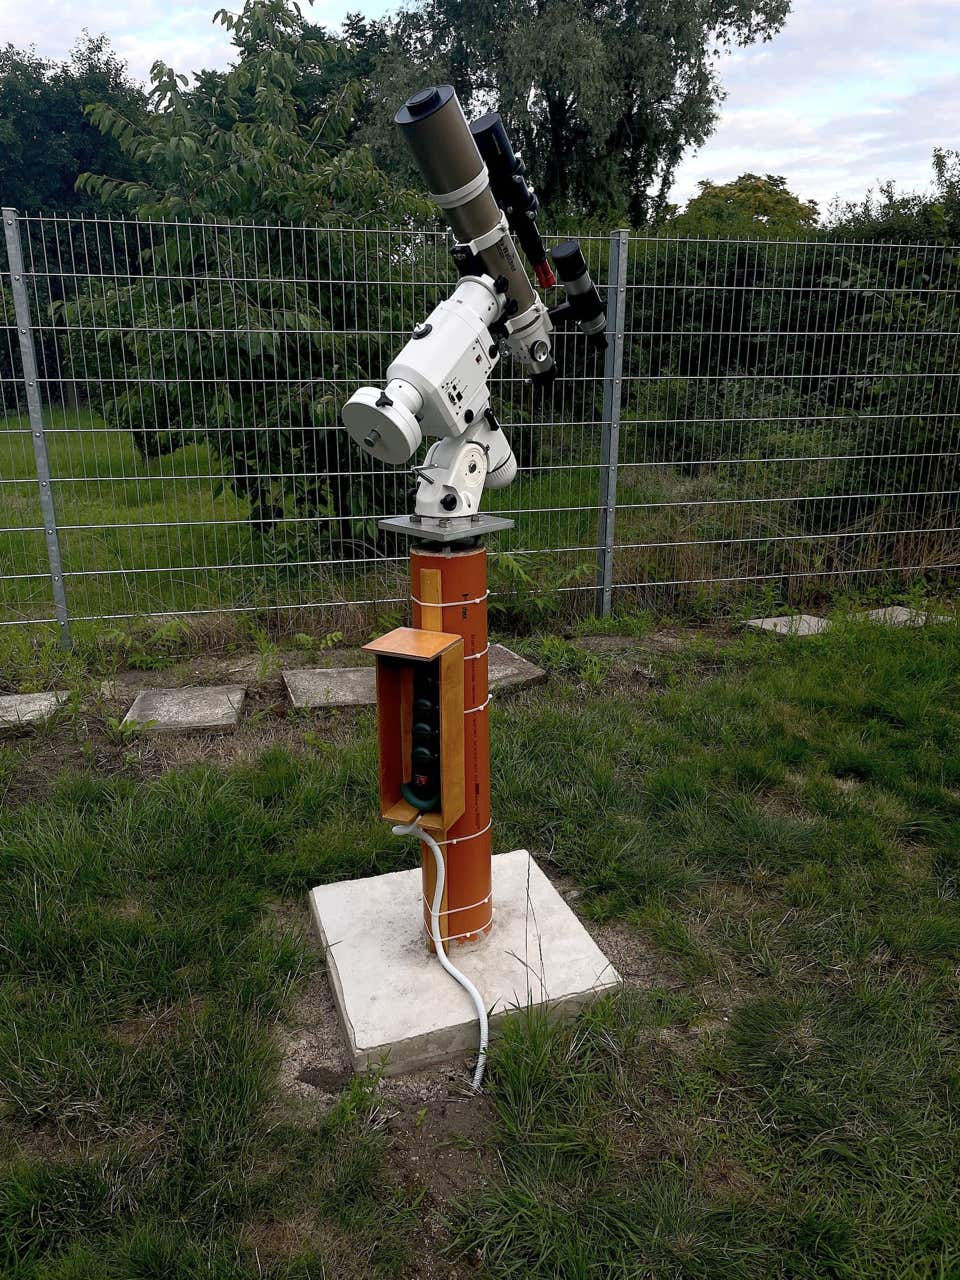
To save time and to avoid the need to transport my mount each night I built a telescope pier. The foundation was built using concrete. For this I wanted to dig a hole with a deep of at least 60-80cm. However, because of the stony clay soil, I could only reach a depth of about 50cm. To increase stability, I drove several thick metal rods another 80cm deep into the ground. The hole was then filled with concrete, with the metal rods protruding upward from the concrete. After the concrete had dried for two days, a pipe with a diameter of 16cm and a length of 1.5 meters was placed centrally over the metal bars and fixed in place before this was also filled with concrete.
21/11/2021
Blogeinträge
For the support of the mount I got some 2cm thick aluminum plates, in which I drilled corresponding holes in the middle for screwing the mount from below and for 4 one meter long 18mm thick threaded steel rods. This mount support was screwed to the large threaded rods and sunk into the still fresh concrete in the pipe. A piece of wood served as a spacer between the aluminum plate and the pipe with the distance just large enough to still reach the screw by hand. Now, the concrete needed to dry for more than one week.
About 9 days later I adjusted the aluminium plate to be leveled and finally put the mount on top of it. Finally, in the next clear night I made a very accurate polar alignment.
Since August I’ve been using this new pier now. The pier is very stable and I only need to check if the polar alignment is still accurate enough from time to time. Meanwhile, I’m using N.I.N.A for imaging and can do the entire polar alignment using N.I.N.A in just a few minutes. My guiding quality did improve significantly. Because N.I.N.A requires Windows I installed a small holder for my Mini PC on the pier. The disadvantage of this approach is that there is much more potential for cable snagging, while my Raspberry PI was mounted directly on my mount. However, due to a lot of problems with WLAN and other small issues using N.I.N.A just works better for me.
Maybe I will build some kind of observatory around this pier next year.